








How to diagnose damp problems in a caravan
Publié le 24/08/2026
A damp problem in a caravan can begin quietly, often behind furniture, inside lockers or beneath floor coverings. By the time a stain, musty smell or soft wall is obvious, moisture may already have affected timber, insulation and internal finishes. A careful inspection helps you identify the source early, decide whether a repair is manageable and protect the value of your caravan.
Start with the warning signs inside your caravan
Your senses are useful diagnostic tools. Begin on a dry day, with all windows closed for a few hours if possible. When you open the caravan, notice whether there is a persistent musty odour. Condensation can create temporary dampness, but a smell that remains after ventilation may point to water ingress.
Look closely at common entry points:
- Corners of windows and rooflights
- Wall and ceiling joins
- Front and rear panels
- Areas around service hatches and external lockers
- Cupboards beneath the sink and near the shower room
- Floor edges beside doorways and seating bases
Brown or yellow staining, rippled wallpaper, lifting wallboard and black spotting are visible warning signs. Press gently around suspect areas with your fingertips. A healthy wall should feel firm and consistent. A soft, spongy or unusually cold section may indicate moisture within the structure.
Pay attention to the floor as well. Walk slowly through the caravan in soft-soled shoes, checking for flexing near the entrance, washroom, kitchen and corners. A soft caravan floor can result from a leaking door seal, damaged floor edge or water entering through a nearby wall.
Use a damp meter to measure hidden moisture
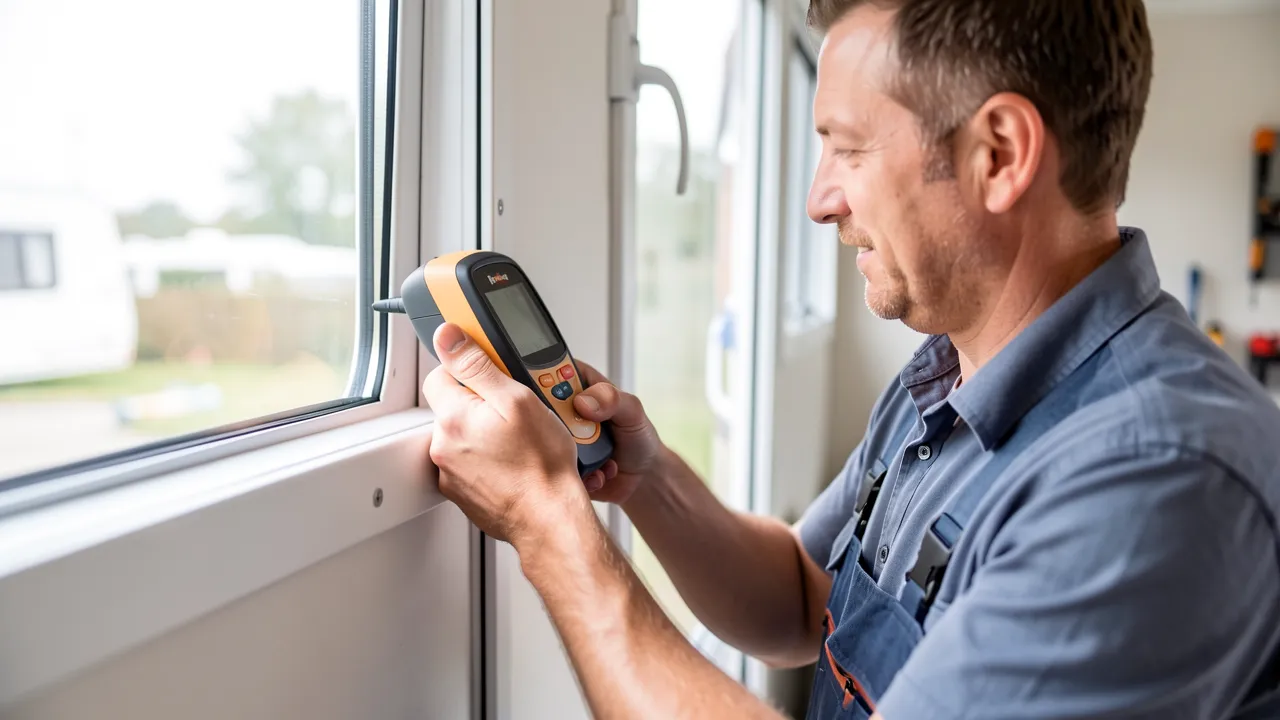
A caravan damp meter provides a more reliable indication than visual checks alone. Most workshops use a two-pin moisture meter, which reads electrical resistance between two probes. Higher readings generally mean greater moisture content in the material.
Test systematically rather than checking only the area where you found staining. Create a grid around every window, rooflight, locker door and external fitting. Take readings at regular intervals, including low-level wall sections and internal corners. Record the results with the location and date, so you can compare them after repairs or during future servicing.
As a broad guide, readings below 15 percent are often considered acceptable in caravan wallboard. Results between 15 and 20 percent merit monitoring and closer investigation. Readings above 20 percent may indicate an active damp issue, although meter type, material and ambient conditions can affect the result.
Avoid pushing probes deeply into decorative panels unless you accept small pinholes. A workshop can test discreetly and interpret readings across the full structure. If you own an older Compass model, Understanding Compass Caravan Parts and Accessories can help you identify components that may be relevant when replacing seals, trims or fittings.
Trace the water path from the outside inward
The visible damp patch is not always directly below the leak. Water can travel along timber framework, cables and joints before appearing inside. Inspect the exterior above and around the affected area first.
Check sealant lines around windows, rooflights, awning rails, grab handles, roof seams and marker lights. Sealant that has cracked, shrunk, lifted or separated from the body panel can allow rainwater behind the outer skin. Look for loose screws, damaged trim and impact marks that may have opened a small gap.
Rooflights deserve particular attention. Their hinges, mounting frames and surrounding sealant are exposed to sunlight, vibration and standing water. Open the rooflight and inspect the internal frame for staining or moisture. Similarly, examine the caravan roof for hairline cracks around satellite mounts, solar panel cable entries and roof vents.
Do not assume all moisture comes from rain. Plumbing leaks can soak cupboards and floors, while a faulty fridge vent or poorly sealed shower area may cause localised dampness. Run taps, fill the water system and inspect pipe joints, waste connections and pump fittings for drips.
Separate condensation from a structural damp problem
Condensation occurs when warm, humid air meets a cold surface. It is common during winter touring, especially when cooking, showering or drying clothes inside. You may see water on windows, rooflights and cold metal frames in the morning.
Structural damp usually has different characteristics. It tends to recur in the same area, produces persistent staining or softening, and may remain present after several dry days. Condensation normally affects surfaces, whereas water ingress can create elevated meter readings deeper within walls and floors.
Reduce condensation by ventilating roof vents, using a suitable dehumidifier when on electric hook-up and avoiding the use of unvented heaters. Wipe down wet surfaces promptly, but do not cover a suspected leak with tape or sealant from the inside. Interior sealant can trap moisture and obscure the true route of ingress.
Repair the cause before treating the damage
Drying a damp area without stopping the leak only delays further deterioration. Once you have identified the entry point, remove failed exterior sealant, clean the surfaces and reseal using a caravan-grade product suited to the material. Window and rooflight removal may be necessary where seals have failed behind the frame.
Internal damage varies widely. Early-stage moisture may dry fully once the leak is repaired and the caravan is ventilated. However, rotten timber, delaminated wallboard, distorted panels and severely soft floors often require professional reconstruction. These repairs can involve removing furniture and exterior panels to access the structural frame.
For Sprite owners, Exploring Sprite Caravan Spares and Replacement Parts offers useful guidance when sourcing model-appropriate replacement items after a repair assessment.
A professional damp report is worthwhile before buying a used caravan, making an insurance claim or committing to major repair work. Ask for moisture readings by location, photographs of affected areas and a clear explanation of the proposed work.
Keep your caravan dry with a regular damp inspection
A regular inspection routine gives you the best chance of finding problems before repairs become extensive and expensive. Check seals after winter storage, after a journey involving rough roads and following any impact with low branches or site obstacles.
Keep these practical points in mind:
- Inspect exterior seals at least twice a year for cracks and separation.
- Use a damp meter to monitor any area with staining, softness or an unusual smell.
- Check rooflights, windows, service hatches and awning rails after heavy rain.
- Investigate plumbing leaks quickly, particularly beneath sinks and around the washroom.
- Maintain ventilation during storage to limit condensation and mould growth.
- Arrange a professional caravan habitation service annually for a full moisture check.
By finding the water source, measuring moisture accurately and repairing failed seals promptly, you can keep your caravan comfortable, safe and ready for future road trips.